Sunday, October 27, 2013

What a Croc!

There has been an invasion of crocodiles in my house this past week.


I asked Brooke what she wanted to be for Halloween.  
For the first time I actually got an answer!
So of course I had to put on my game face and step up to the challenge!


I searched online and on pinterest looking for a pattern.  Found a great one too.   
See here - Crocodile Pattern 
Followed her alterations for the head except my croc nose is a little longer and I made ties instead of velcro for under the chin.  If I did anything different I would definitely shorten the nose.  It pulls the hood down after a while.   I sometimes get too involved in making it look real that I forget about making it practical.  


She loves it though. . .Chomp Chomp!


I also made her a little matching basket from the scraps using the nesting bowls pattern here.  
Just use the basket guide within the pattern. 


When deciding on fleece I went with pill resistant fleece from Joann's.  Price is not bad (especially with a coupon and it gives it a better quality look I think).  Reminds me of the ones you see in the stores.


Definitely glad I went with the fleece.  It was freezing at the Halloween parade this year.  We had two layers under the fleece and she was still cold.  Hoping it will be better for Halloween on Thursday. 


One cute Croc!


And she is fast!  Even with that big head . . .she could chase me all over the yard chomping away. 


Until she ran out of energy . . .then it was off to the parade to find some candy.
Love that tail!

We also had a Croc come for breakfast last Pancake Sunday:)
(was so busy making this costume that I didn't have time to post)


Start out with one batch of simply perfect pancakes here
Split into two bowls


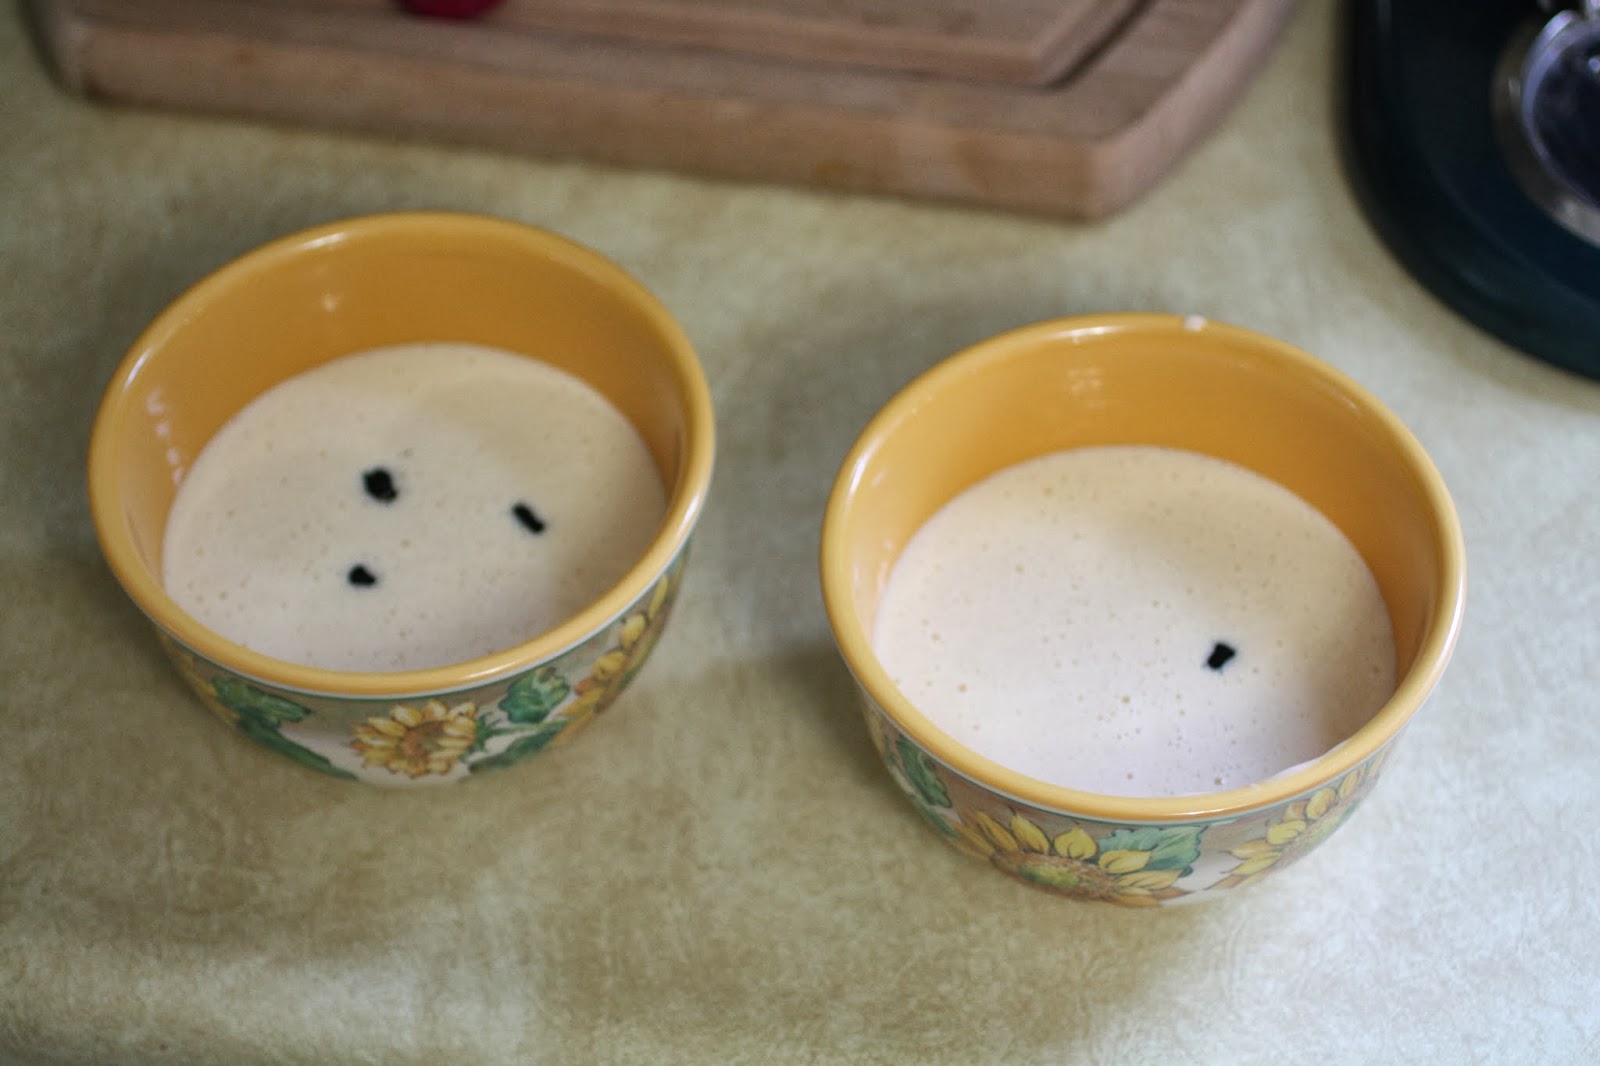
 Add green food coloring.  1 drop to one and 3 drops to the other


Mix up well


Place into empty condiment jars 


Prep your dressings.  1 large marshmallow cut in half.  And two large chocolate chips. 
(all for the croc eyes)


Take another large marshmallow and slice into little teeth for you hungry croc.


With your two greens; I started with drawing the bottom jaw then went in with the dark green to draw the top jaw and the head with eyes.  It took me two attempts to get this just right.  


Once done I arranged them on a plate for decorating.


Add your marshmallow eyes.


and chocolate chips!

Then finally those chomping teeth!


One hungry Croc!

Sunday, October 13, 2013

The Great PUMPKIN!

So here is my first attempt at instructions for a Great Pumpkin pancake Sunday:

Step 1:

Heat the griddle (I always start this when I make the batter so that it is ready when I am ready to start).  

Play with your griddle and burner until you figure out the right temp.  I always use the same pan and burner because I know exactly where it needs to be temperature wise).  I also never wash my griddle in the dishwasher . . I only hand wash.  It makes a difference . . .I put it in the dishwasher once and everything stuck that day.    Very frustrating!

Step 2:

Make the pancake batter.  I find this to be a great project for Brooke and I to work on together.  She helps me every Sunday with the measuring and adding to the batter.  I use the Simply Perfect Pancake recipe from King Arthur Flour.  

This week, because its a pumpkin pancake I added some pumpkin flavor and a little cinnamon and nutmeg.  Very tasty!


I scooped out about 3/4 cup of batter and added green food coloring.  I placed this in a plain plastic condiments container (this comes in handy for fine pancake design).  The remainder of the pancake mix is colored orange and placed in the pancake pen (I purchased this at King Arthur as well).

Step 3:

Cut yourself a chocolate pumpkin stem.  I just used some extra chocolate I had left hanging around.


Step 4:

Make a test pancake.  Once that is done and you are happy with your pan temperature then you are ready to start the pumpkin pieces.

I made three long oval pieces that I will stack to give the pancake dimension.  Funny, I actually got this idea from a stampin up punch class.  I may have to look through my punch book and see what other items I can transform into pancakes.  Don't worry if you go out of shape a little . . .you can always trim the pancake with a butter knife.  Be sure to make the center oval a little longer than the other two. (just a little bit)


Step 5:

One those are cooked. . .Assemble your pumpkin. . layering them.  Place the two outer layers down and then the middle one on top in the center.  Place your chocolate stem on top just under the third oval.


Step 6:

Next with your condiments bottle (like I said . . .great for fine details).  Make a couple squiggles, some leaves (didn't get a photo cooking), and some letters.  We just started adding words to our pancakes to add spelling into our breakfast tradition.  Don't worry, you don't have to write the letters backwards.


Step 7:

Add your leaf, a squiggle, and spell pumpkin along the bottom and you have. . . .


THE GREAT PUMPKIN!!!

Now for some VERMONT maple syrup . . . it's the best! :)  My favorite place to get syrup is Here.  Love Love Love syrup in a glass jar!

Sunday, October 6, 2013

New sewing project and pancake Sunday


Finally started a new project today.  Can you guess what it is?  

Not only have we been making pies lately. . .we have also been making very creative pancakes.
I actually started this weekly tradition of "Pancake Sunday" after making a bunny pancake this spring.

Since then, it has gotten WAY out of hand, but is SO much FUN!  I really look forward to this every week and should probably start blogging about my pancakes.  Maybe some photo instructions???  A friend really wants me to write a book since they have taken up a following each week on Facebook . . .but as with everything else. . its a time thing.  Ugh!

Blogging for now is good. . .anything to get more people to cook from scratch and get kids in the kitchen.  Its food art!  I may not have a lot of craft time right now but there are other ways to express creativity!

Tuesday, October 1, 2013

My favorite time of year . . .


September really is my favorite time of year.  
And luckily we have had some really wonderful family time this past month.  
We made a long weekend in York Beach, ME.  Brooke's first trip to the ocean.  
Which was exciting and entertaining for all of us.  

I even got to do a little bit of knitting on the beach!  Very relaxing :)


It's also apple picking time here in Vermont.  
So we also had our annual family apple pick.   
We have done this every year since 2001!  
Some of my favorite photos of Brooke usually come from this trip.  
The weather was great, apples were yummy, and you can't forget the cider or the donuts! 


There must be something about Vermont this time of year that just allows for every photo to be picture perfect.  
I just love this place!


However, my favorite part this year was making apple pies with Brooke.  
This is the first year she has been able to help.  
And yes, . . .I know. . she needs a hand sewn apron. . .its on my list!  

The last time we were at King Arthur Flour she got her very own rolling pin!  
It is just way too cute! 
 I made extra pie crust.  
KAF has amazing pie curst recipes and it really isn't that hard by the way.
Try it!
or

But the best part. . .

 was her face when she held up her very own pie!!! 


So even though I have not finished a single craft project in weeks . . .
I am totally ok with it . .
this moment I will cherish forever!
Blogging tips