So here is my first attempt at instructions for a Great Pumpkin pancake Sunday:
Step 1:
Heat the griddle (I always start this when I make the batter so that it is ready when I am ready to start).
Play with your griddle and burner until you figure out the right temp. I always use the same pan and burner because I know exactly where it needs to be temperature wise). I also never wash my griddle in the dishwasher . . I only hand wash. It makes a difference . . .I put it in the dishwasher once and everything stuck that day. Very frustrating!
Step 2:
Make the pancake batter. I find this to be a great project for Brooke and I to work on together. She helps me every Sunday with the measuring and adding to the batter. I use the Simply Perfect Pancake recipe from King Arthur Flour.
This week, because its a pumpkin pancake I added some pumpkin flavor and a little cinnamon and nutmeg. Very tasty!
I scooped out about 3/4 cup of batter and added green food coloring. I placed this in a plain plastic condiments container (this comes in handy for fine pancake design). The remainder of the pancake mix is colored orange and placed in the pancake pen (I purchased this at King Arthur as well).
Step 3:
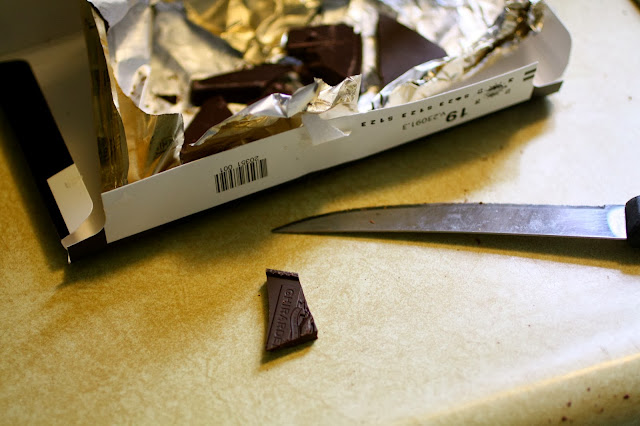
Cut yourself a chocolate pumpkin stem. I just used some extra chocolate I had left hanging around.
Step 4:
Make a test pancake. Once that is done and you are happy with your pan temperature then you are ready to start the pumpkin pieces.
I made three long oval pieces that I will stack to give the pancake dimension. Funny, I actually got this idea from a stampin up punch class. I may have to look through my punch book and see what other items I can transform into pancakes. Don't worry if you go out of shape a little . . .you can always trim the pancake with a butter knife. Be sure to make the center oval a little longer than the other two. (just a little bit)
Step 5:
One those are cooked. . .Assemble your pumpkin. . layering them. Place the two outer layers down and then the middle one on top in the center. Place your chocolate stem on top just under the third oval.
Step 6:
Next with your condiments bottle (like I said . . .great for fine details). Make a couple squiggles, some leaves (didn't get a photo cooking), and some letters. We just started adding words to our pancakes to add spelling into our breakfast tradition. Don't worry, you don't have to write the letters backwards.
Step 7:
Add your leaf, a squiggle, and spell pumpkin along the bottom and you have. . . .
THE GREAT PUMPKIN!!!
Now for some VERMONT maple syrup . . . it's the best! :) My favorite place to get syrup is Here. Love Love Love syrup in a glass jar!


No comments:
Post a Comment