Sunday, November 9, 2014

A Birdie Sling Christmas Gift and Pancake Sunday still continues . . . .


Finished by first Christmas gift this weekend.  A good feeling since is November and we are now counting down the days.  Or at least the TV commercials seem to do a good job of reminding me.  Love the colors of this bag.  The teal and the pop of yellow are extremely appealing to me.  Very happy with the result.  I hope the recipient feels the same.   I am planning my new birdie bag but have some pot holders to make in between.


This is the inside fabric.  

And although I have done a very poor job of updating my blog in the last year I have been continuing with my Pancake Sunday tradition.  
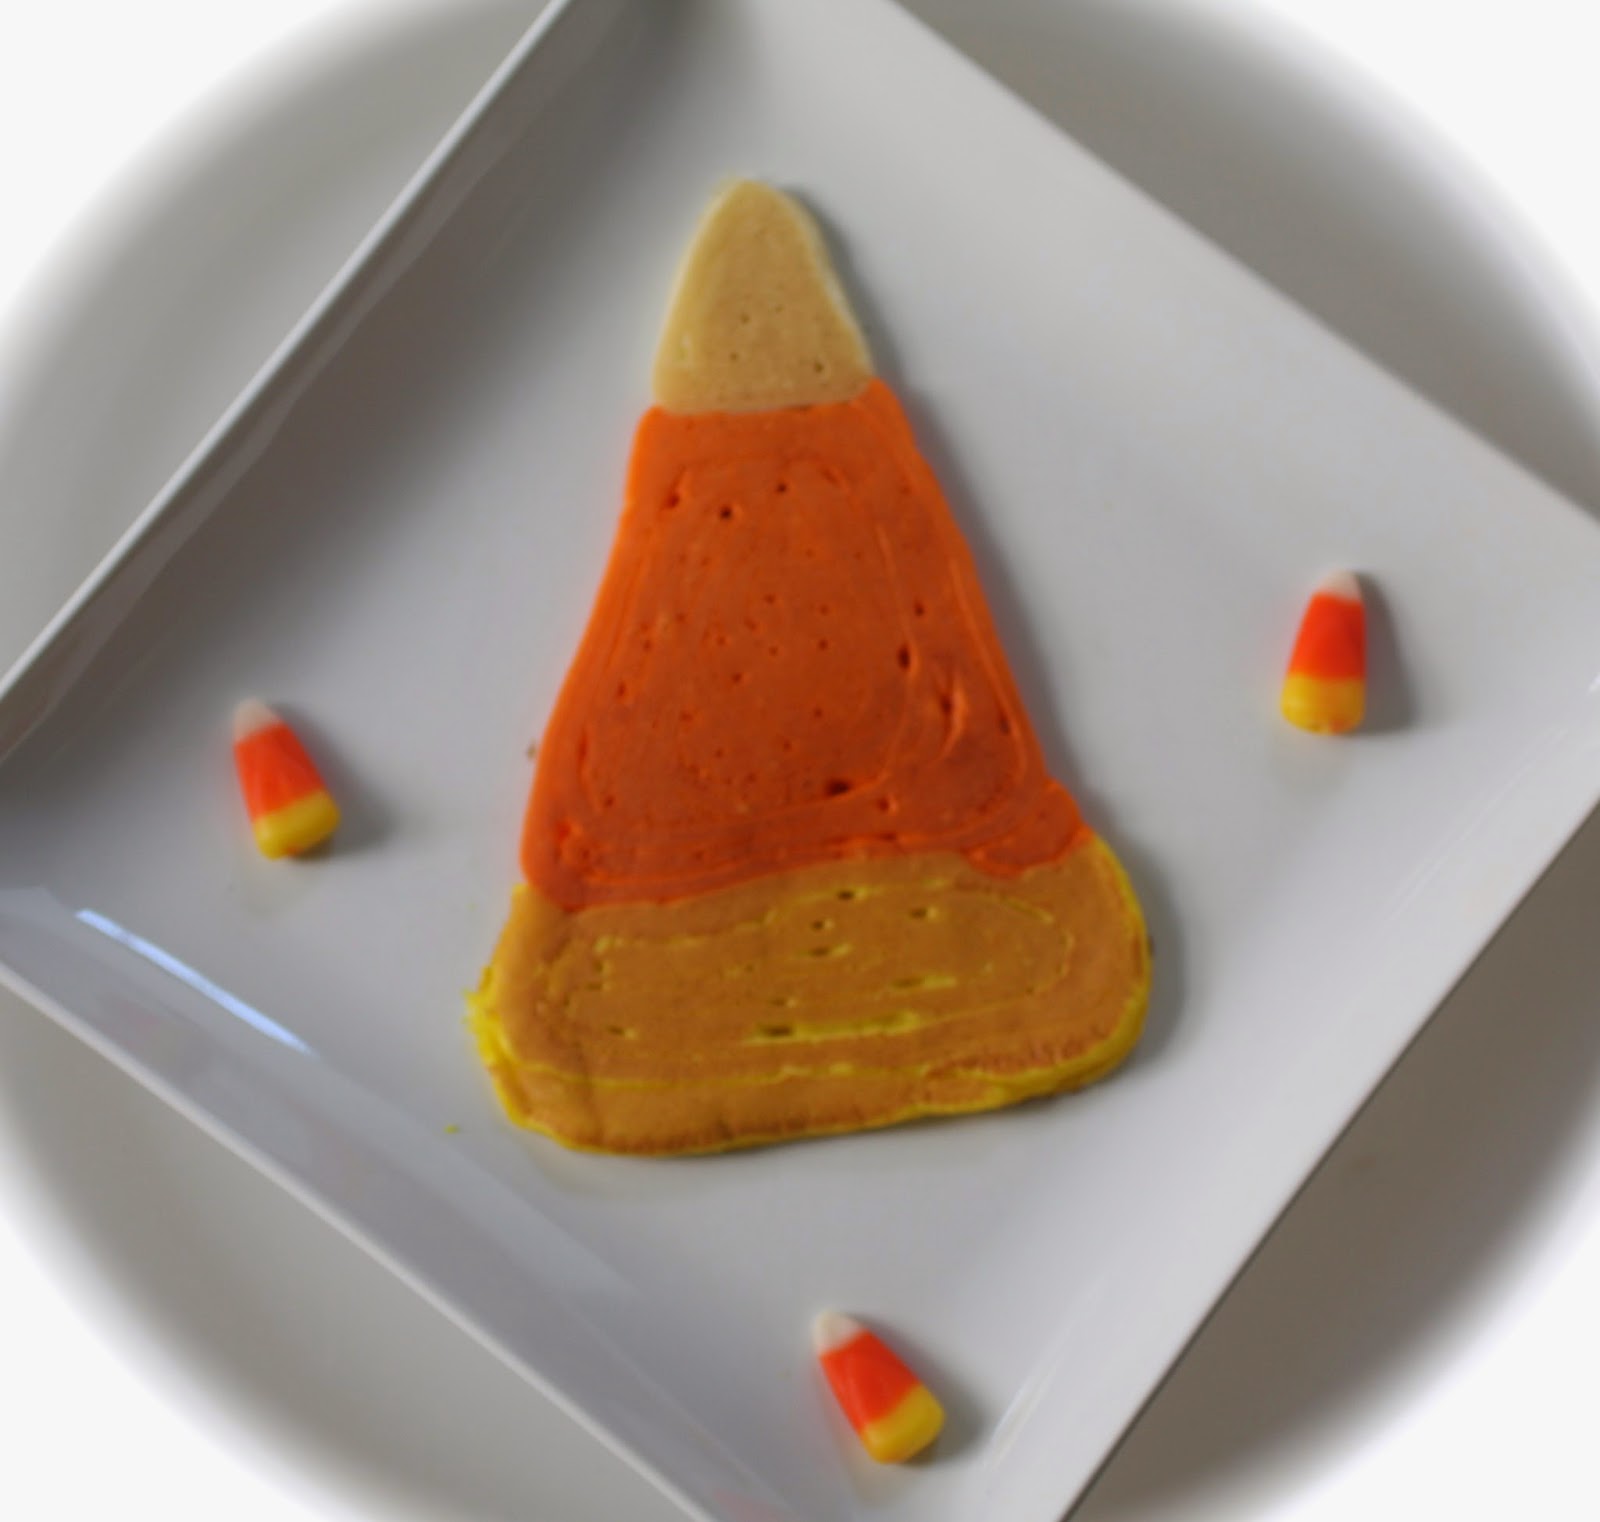
This was todays. . . . along with some others over the past few months.  I am going to try and be better . . .post a craft project update every Sunday along with my pancake.  

I may not have much to say or the brain power to type by the time I sit down but at least I will have an eye appealing photo to post right?


Saturday, November 1, 2014

Hey Mickey! …...Hey Mickey!

Mission Halloween Mickey Mouse


And it turned out to be quite a success!  Halloween is now over . . . .
and I can't get her out of this costume :)  
Well worth all the effort for sure.  


All made of fleece (except the gloves).  This is perfect for the unpredictable and usually cold and wet Halloween holiday here in Vermont.  The black and red fleece is micro fleece and the yellow is pill resistant fleece.  All purchased at Jo-ann's so the cost is pretty minimal with a coupon.  I purchased 2 yards of black, 1 yard of red, and 1/2 yard of yellow.

I started off with the pants (which are separate from the red shorts).  I used the Oliver & S pj bottom pattern for the base and just tailored it to be more fitting to her legs.  With an elastic waist these fit great and she can wear them this winter.  

If you don't have this pattern, its definitely worth purchasing.  I have never made the pj top but I use the pj bottom pattern year after year whether it be for gifts or for Brooke.  It has paid for itself many times over.  The pattern is very easy to follow as well.


Next we worked on the shorts.  I used Dana's flat front shorts pattern in a size 5 which is a little big for my daughter at the moment but I wanted her legs to have that skinny look.  Turned out great I think.  I just followed the normal pattern instructions and added some very large white buttons on the front.  This is also another pattern that I use time and time again.  She has a great range of sizes and styles within one pattern and I find myself going back to it time and time again.  A must have for your pattern library I think.


Oh!  And don't forget the Mickey tail!  Once the shorts were done I free-handed a tail pattern and sewed, stuffed, and inserted it into the back seam of the shorts.  I just pulled the back seam out a bit and stuffed the tail through and sewed the seam back up.  This was Brooke's favorite part!

Next we decided to get the shirt off the list (I still needed time to figure out the ears . . .had a vision in my head but was not quite sure how I was going to pull it off).  The shirt pattern is Made by Rae's Flash Back Skinny Tee.  Again, followed the pattern except that I added a turtleneck top (I think it was a 12" piece cut for the collar and just folder in half and sewn in place around the collar edge so you get a slouchy turtleneck look.  

I then just finished the shirt cuffs as 2"(not folding in half for a 1" cuff. . . just sewn on as a 2" extension onto the sleeves) and finished the edge at 1/4"folded over.  Since its fleece, there is no need to worry about the edges fraying.   

I purchased this pattern a while ago and just got around to using it.  So far, I really like it and will be using it again I am sure.  I think I will look into some cute cotton fabrics online and make Brooke some Flash back tees for the winter.  So far I can say this pattern has potential for going into my must have pattern library.


An then comes the Mickey ears. . .Mickey isn't Mickey without ears. . .ears that STAND UP!  So I purchased this pattern from Tiedyediva.  I just left two seams open on each side to insert the ears.  The ears are each made from two round plastic canvas pieces sewn together and covered with fleece.  I also took two rectangle pieces which I also sewed on each side of the two sandwiched together circles (before covering with fabric with yarn and a lg embroidery needle).  Hard to explain, but when I was done I basically had a sandwich of plastic canvas circles with to plastic canvas braces coming out the bottom giving the circles some stability.  This was my husbands idea (thank you!).  After I covered the circle with fleece I inserted (the brace like pieces into the holes I left in the hat at the seams and then hand sewed the seams and ears in place.  Looked great but they would not stand up for a long period of time and because the hat pattern doesn't have a liner the plastic brace-like pieces were scratchy (ouch!).  So I then cut two rectangle pieces of fleece and hand stitched over them the plastic braces on the inside of the hat which gave them extra stability and solved the scratchy issue . . . .Hooray!!!!


And the shoes!  Mickey would not be Mickey without the shoes.  This shoe pattern I happen to find online while searching for ideas.  I love it!  Its easy and fun and just looks . . . .Awesome!!!  These are made out of yellow pill resistant fleece.  Easy to follow and a great result.  They are shoe covers and just sit on top of your child's sneakers.  How cool is that!

And last but not least . . .the gloves.  I admit. . . I purchased these at Jo-Ann's (one size fits all) and added some black accents.  I probably could have made some but time was a little crunched at the end and being that they are white I am glad I didn't.  These $1 bargain now are stained with black face paint . . .oops . . .so i am glad I just went with the quick store bought option on this part.

Very very pleased with this years costume, happy with the smile on Brooke's face, and delighted that the day after I still can't get her out of it!!  Love it:)

Sunday, August 3, 2014

And we have a pair!!!!


Very excited to have a pair of socks and a finished project!  Finally . . .feels great!


I haven't blocked them yet but they fit ok.  I think I would have knit the smaller size for a more snug fit.  I will keep that in mind for the next pair of socks.


Thinking the Tic-Tac-Toe-Up socks might be my next toe up sock.  Love the color yarn!

And . . . .


A cowl in red??? All very autumn like. . .my favorite time of the year :)

Saturday, August 2, 2014

Back to crafting and sharing


Life can get super busy sometimes.  But then the craziness settles and the things that calm you always return.

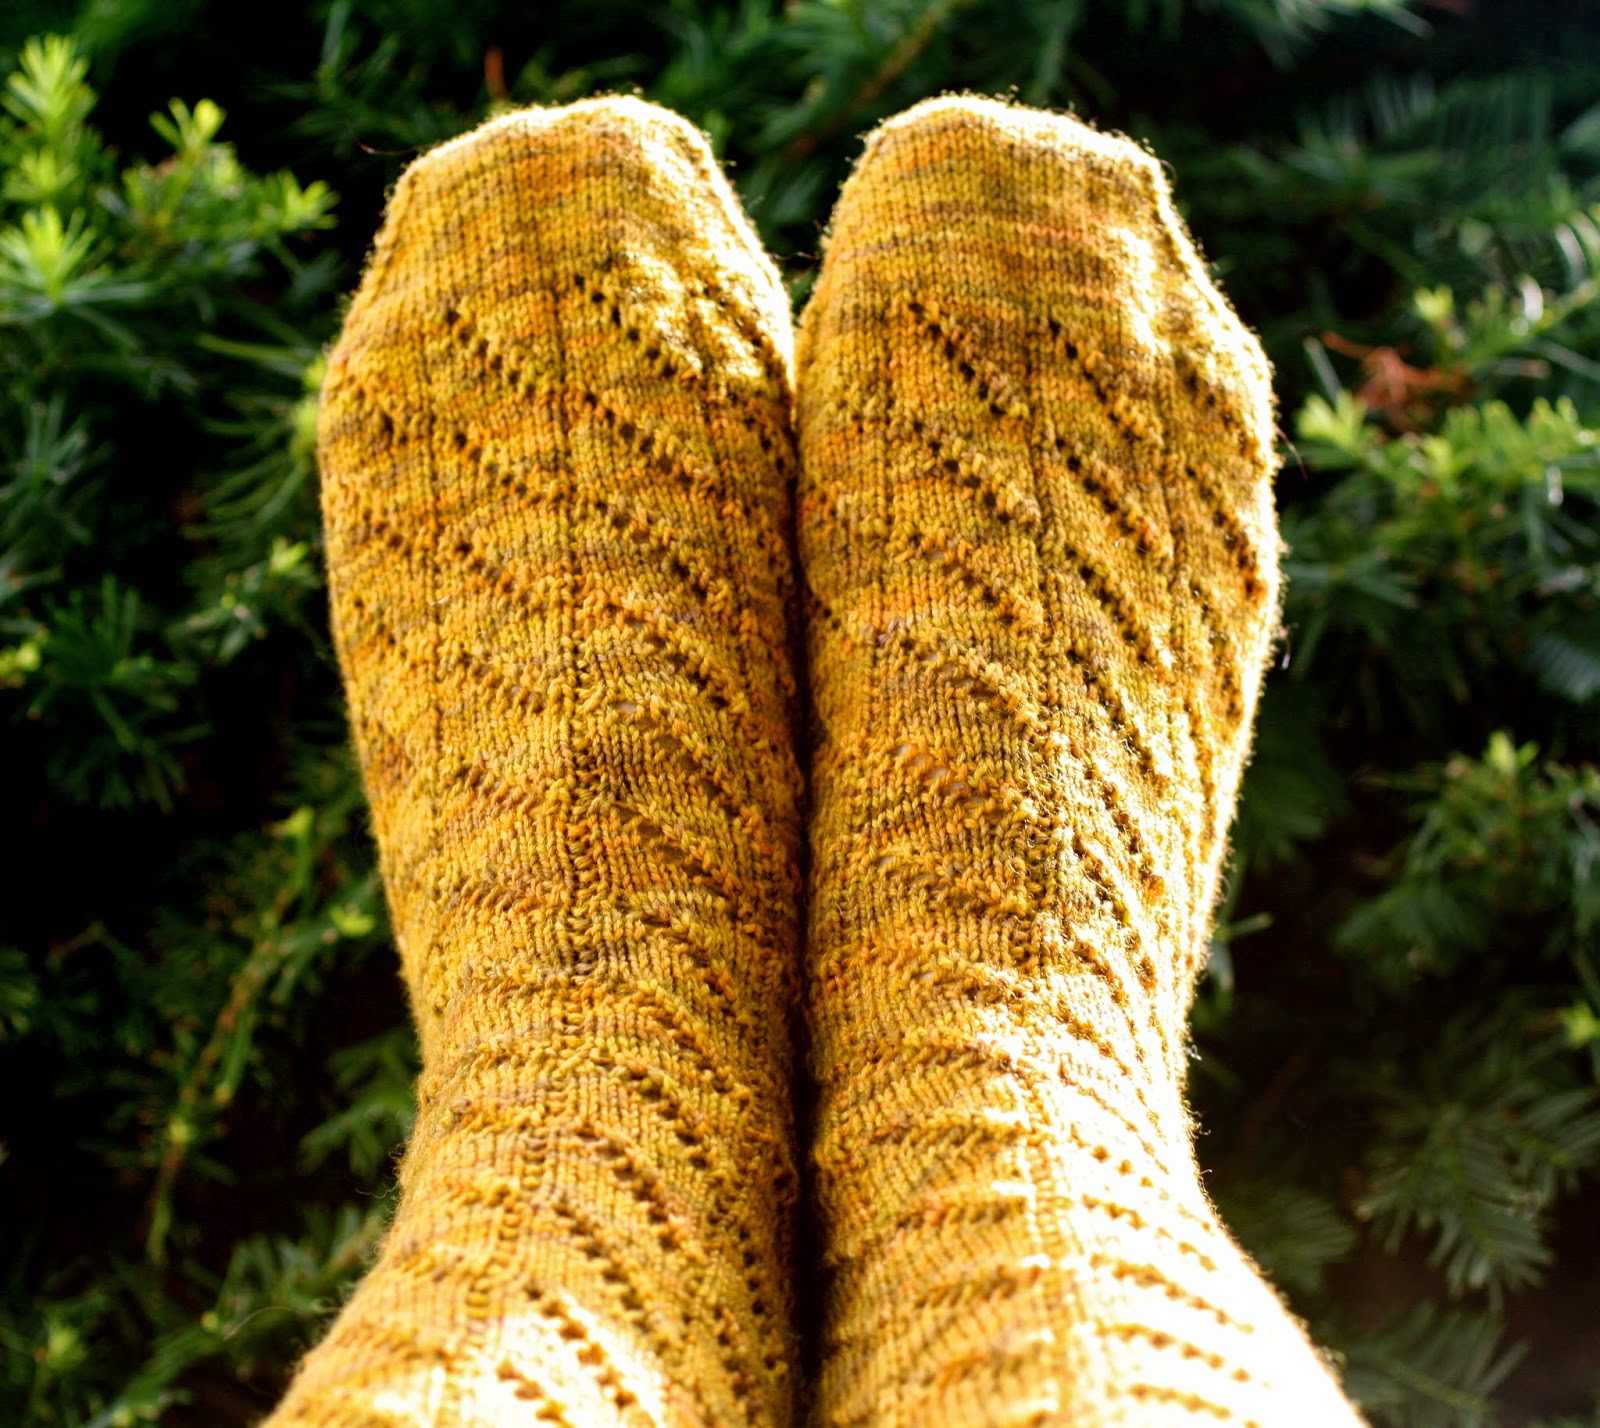
Diagonal Lace Socks - from the book - Socks from the Toe Up by Wendy D Johnson

I have been knitting this pair of socks for probably two months now.  Surprisingly I am not bored and will actually complete the pair.  Whew!  That second sock is usually a struggle for me.  Must be the new technique I think.  I have always knitted stocks from the top down and finally decided to give the toe up a try.

Yarn is Dream in color smooshy sock yarn - in strange harvest.
US 1 needle size
Knitted on two circular 16 inch needles

Looking forward to wearing these this fall with my riding boots :)

Sunday, November 24, 2013

Gobble Gobble and some chill in the air. . .


This Pancake Sunday is just before Thanksgiving . . .had to break out a turkey pancake.  Went to Pinterest looking for shape ideas and I found one and tweaked it to my own style.  Four pancake colors involved.  Red, Orange, Yellow, and Brown.  Make sure to have two small chocolate chips for the eyes.


Start out with a round pancake in the brown and three red feather pancakes. 


Then add three orange feathers.  


And two yellow feathers.


Next come the turkey feet and the neck and head (almost like a figure eight).  


Add a carrot shaped pancake nose and a red wattle (kind of looks like an extended tear drop)
Two tiny chocolate chips and you have got yourself a gobbler!

Gobble Gobble!

Its been getting chilly in Vermont this week . . .so I have been experimenting with kid fleece patterns.  Can't wait until the hat is done. . .hoping for some quick Christmas gift presents. 

Sunday, November 17, 2013

As deer season begins I find I am already behind


This Pancake Sunday started off the beginning of deer season.  One brown deer shaped head to start off.  Some plain pancake antlers, marshmallow eyes and chocolate chips for the nose and mini chips for the eyes.  She specifically requested that there be LOTS of marshmallow today so I cut some mini marshmallows in half and used them as falling snow for deer tracking :)

I would have more detailed photos but someone was STARVING this morning.

Last week I missed posting a Sunflower pancake


the center is a brown pancake with chocolate sprinkles and mini chocolate chips.  The outer edge is large chocolate chips.

The week prior to that was even better:


I pulled out my duck cookie cutter . . .cut one out of brown, one out of green, then cut off the parts I needed.  the while is a slice of marshmallow.  and the cattails are all pancake (made with a condiments container since it has a finer tip for drawing).  The ducks nose is a carrot.

She LOVED this one!!!

Been doing really well on the crafting front. . .not so good on the photo/blogging front.  Have quite a few things to photograph.  Just need to be home at the right time for good lighting.

Sunday, October 27, 2013

What a Croc!

There has been an invasion of crocodiles in my house this past week.


I asked Brooke what she wanted to be for Halloween.  
For the first time I actually got an answer!
So of course I had to put on my game face and step up to the challenge!


I searched online and on pinterest looking for a pattern.  Found a great one too.   
See here - Crocodile Pattern 
Followed her alterations for the head except my croc nose is a little longer and I made ties instead of velcro for under the chin.  If I did anything different I would definitely shorten the nose.  It pulls the hood down after a while.   I sometimes get too involved in making it look real that I forget about making it practical.  


She loves it though. . .Chomp Chomp!


I also made her a little matching basket from the scraps using the nesting bowls pattern here.  
Just use the basket guide within the pattern. 


When deciding on fleece I went with pill resistant fleece from Joann's.  Price is not bad (especially with a coupon and it gives it a better quality look I think).  Reminds me of the ones you see in the stores.


Definitely glad I went with the fleece.  It was freezing at the Halloween parade this year.  We had two layers under the fleece and she was still cold.  Hoping it will be better for Halloween on Thursday. 


One cute Croc!


And she is fast!  Even with that big head . . .she could chase me all over the yard chomping away. 


Until she ran out of energy . . .then it was off to the parade to find some candy.
Love that tail!

We also had a Croc come for breakfast last Pancake Sunday:)
(was so busy making this costume that I didn't have time to post)


Start out with one batch of simply perfect pancakes here
Split into two bowls


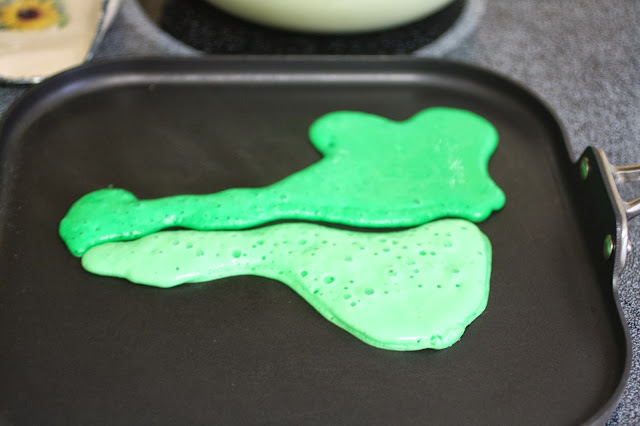
 Add green food coloring.  1 drop to one and 3 drops to the other


Mix up well


Place into empty condiment jars 


Prep your dressings.  1 large marshmallow cut in half.  And two large chocolate chips. 
(all for the croc eyes)


Take another large marshmallow and slice into little teeth for you hungry croc.


With your two greens; I started with drawing the bottom jaw then went in with the dark green to draw the top jaw and the head with eyes.  It took me two attempts to get this just right.  


Once done I arranged them on a plate for decorating.


Add your marshmallow eyes.


and chocolate chips!

Then finally those chomping teeth!


One hungry Croc!
Blogging tips